Creating a seamless, professional-looking artificial turf installation starts with mastering techniques like the S seam. This invisible seam is essential for achieving a natural appearance where two pieces of turf join. If you’re a DIY enthusiast or a contractor, understanding the S seam turf install process can put the polish on your project. Here’s a step-by-step guide to help you achieve flawless results.
What Is an S Seam?
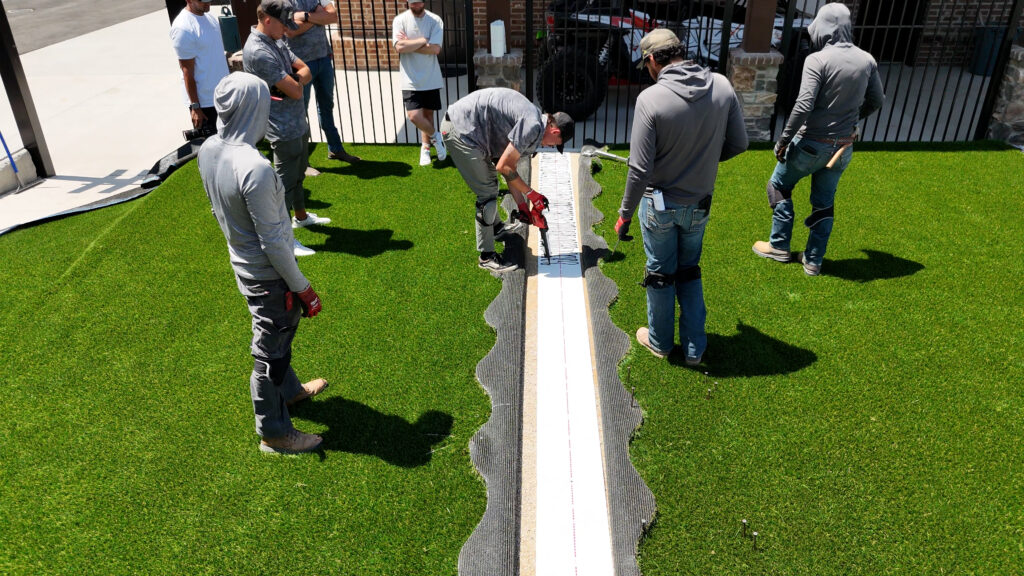
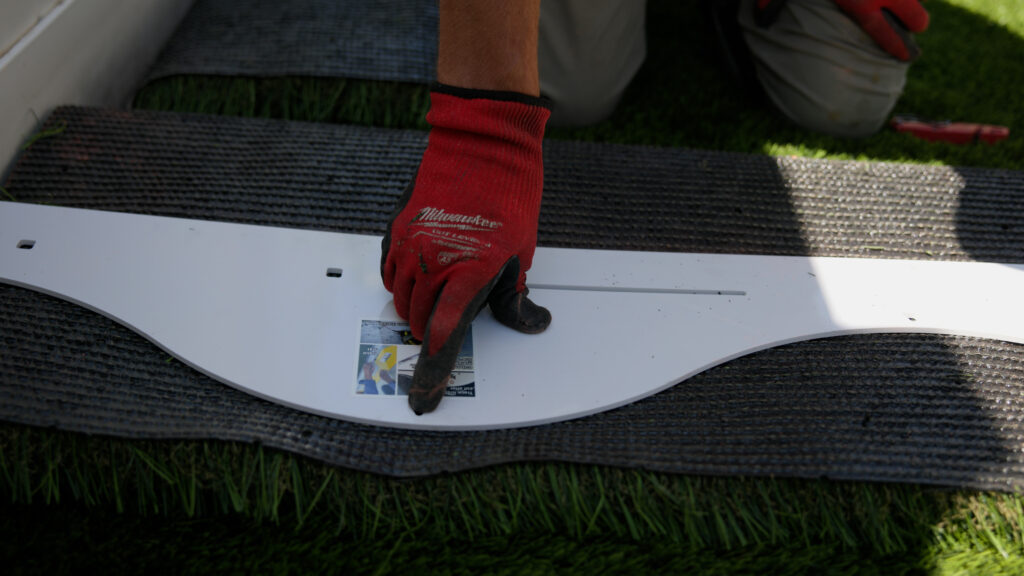
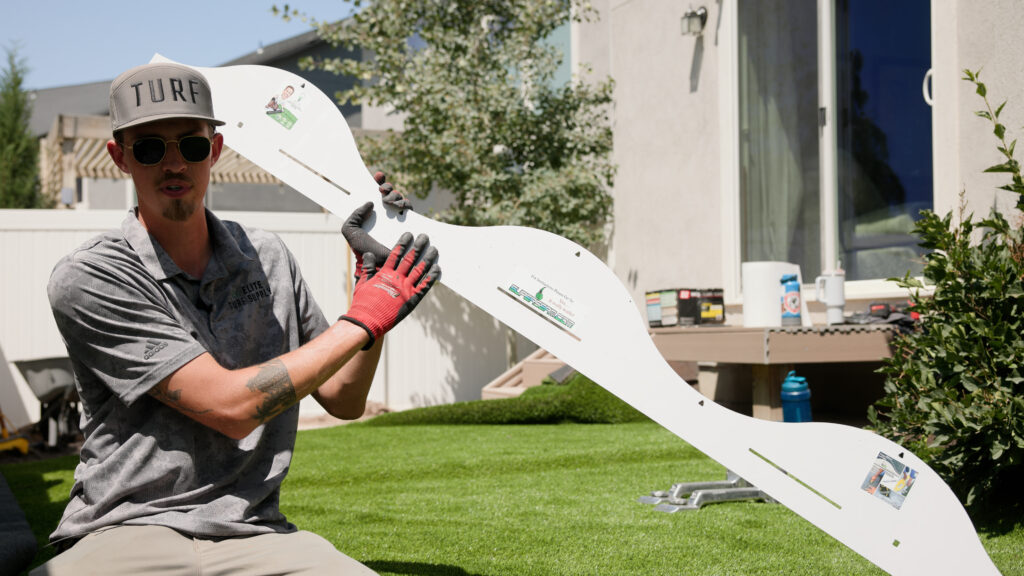
An S-shaped turf seam involves cutting turf along an S-pattern using a specialized seam tool. This technique helps camouflage the seam by breaking up straight lines that can make joins noticeable. Done correctly, the artificial turf S seam creates a nearly invisible transition between turf pieces, ensuring a professional finish.
Tools and Supplies You’ll Need
Before starting, gather these tools and supplies:
- S seam tool: A plastic template to guide your cuts in an S-pattern.
- Utility knife: Ensure you have extra blades for precision.
- Chalk line: Helps you align cuts accurately.
- Seaming adhesive or strong glue: Choose a high-quality option for durability.
- Joining tape: To hold the adhesive in place under the seam.
For all these supplies, consider reaching out to Elite Turf Supply, a trusted artificial turf wholesaler serving Utah and Idaho.
Step-by-Step Guide to S Seam Installation
1. Prepare the Turf
- Lay out the two pieces of turf you’ll be joining, overlapping them slightly.
- Make sure to cut an extra 6 inches of turf beyond the area you’ll be seaming to allow for precision adjustments.
2. Align the Seam Tool
- Mark a chalk line where the seam will go. This ensures the S seam in your artificial turf remains level.
- Place the S seam tool along the chalk line, ensuring the top of the curve faces the cutting direction.
3. Cut Along the S Pattern
- Use a utility knife to cut downward along the template. Keep the blade sharp by changing it every 10 feet for clean cuts.
- Repeat the process for both pieces of turf, ensuring they align perfectly when placed together.
4. Adjust and Position the Turf
- Pull the turf pieces into position, aligning them so the curves interlock seamlessly.
- Check for gaps or overlaps and trim as needed.
5. Apply Adhesive and Join
- Place joining tape beneath the seam line.
- Apply a strong seaming adhesive to the tape.
- Press the turf edges firmly into the adhesive, ensuring they stay in place while the glue sets.
Pro Tips for Success
- Take your time cutting: Precision is key for an S seam turf install.
- Keep blades sharp: A dull blade can lead to uneven edges, making the seam noticeable.
- Use quality materials: Invest in strong glue and durable joining tape to ensure the seam holds up over time.
See the full turf installation tutorial here.
FAQs
What is the benefit of using an S seam for artificial turf?
An S seam creates an invisible seam, blending the turf pieces together for a natural look without visible lines.
Can I install an S seam without professional help?
Yes! With the right tools and patience, a DIYer can successfully complete an S-shaped turf seam. Elite Turf Supply offers all the supplies and advice you need.
How do I prevent seams from pulling apart over time?
Use high-quality adhesive and joining tape, and ensure the turf is properly secured during installation.
Who’s Your Turf Partner?
Whether you’re a seasoned professional or tackling your first DIY project, Elite Turf Supply has everything you need for a successful artificial turf installation. From the best S seam tools to high-quality turf products, they’re your go-to artificial turf supplier in Utah and Idaho.
Contact Elite Turf Supply today for guidance, supplies, and expert advice to ensure your project is a success!

