Installing artificial turf requires more than just rolling out grass – it starts with a careful, thorough dig-out process to ensure a smooth and long-lasting base. Whether you’re a homeowner looking to add some low-maintenance greenery or a professional installer, understanding the steps of our artificial turf excavation guide is essential. Here’s a step-by-step look at how to dig out for artificial turf, from clearing away grass to preparing the base.
Step 1: Remove Existing Grass
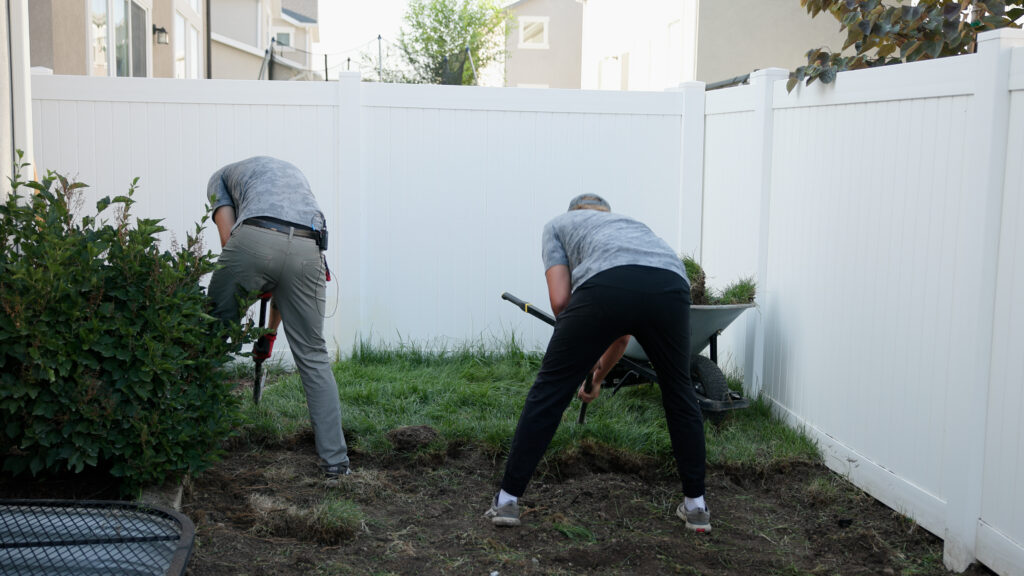
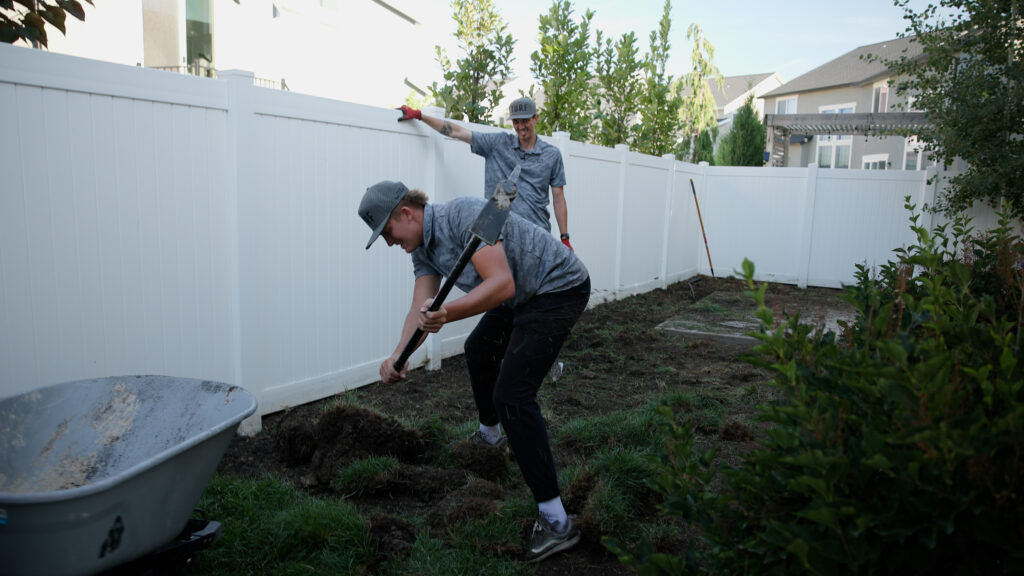
The first step in the artificial grass digging process is to remove any existing grass or organic material. For most installations, this dig-out is about four inches deep, or down to the slag line if there’s concrete bordering the area. This depth is critical – it allows room for the base layers that will stabilize and support the synthetic turf.
For larger spaces, heavy-duty equipment like a Dingo, Skidsteer, or excavator can speed up the dig-out and make it easier. But if you’re working in a smaller area, traditional tools like shovels and pick axes will do the job, albeit with a bit more elbow grease.


Step 2: Protect Subsurface Utility Lines
As with any digging project, it’s essential to be cautious around subsurface utility lines such as gas, water, and cable. Utah residents can call Blue Stakes, a free service that marks these lines with color-coded flags to prevent accidental damage. This step ensures that the artificial turf dig out and base prep proceed safely and smoothly. Gas lines should be 18-24 inches underground, and other utilities should be below 4 inches too, but it never hurts to know where those lines are.
Step 3: Dispose of Green Waste
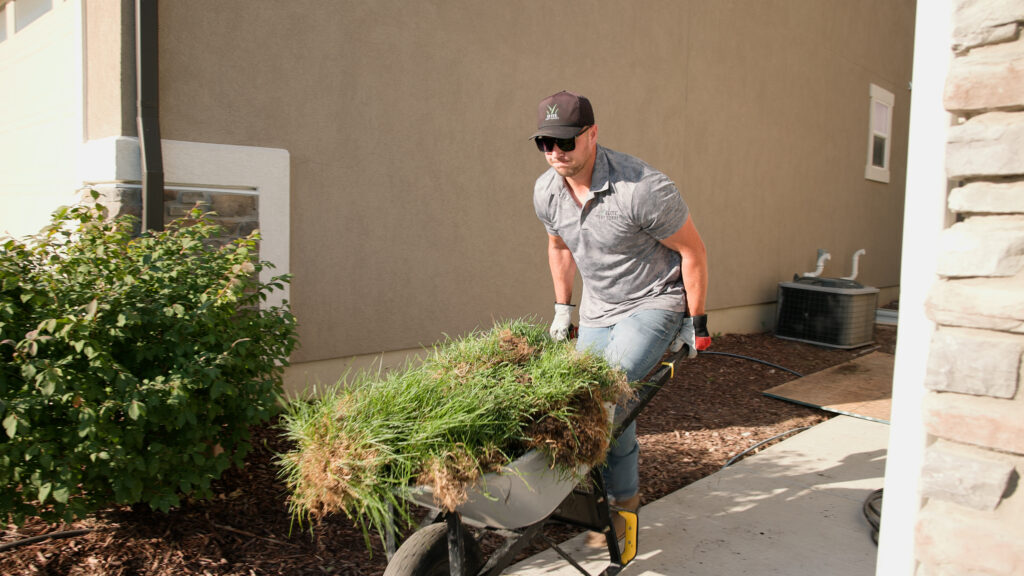
After the dig-out, you’ll be left with a significant amount of green waste, including sod, plants, and other organic material. For a sustainable approach, take this waste to a green dump or composting facility. Removing organic material prevents it from decaying under the turf, which could cause bumps or uneven areas over time.

Step 4: Prepare the Base
With the dig-out complete, it’s time for base preparation, an essential component of ensuring a stable and level surface. This layer often includes compacted rock or decomposed granite, providing excellent drainage and minimizing settling over time. The proper base preparation technique makes a noticeable difference in the durability and appearance of the finished product, so be sure to compact the base material thoroughly.
Helpful Resources
For those new to the process or looking to see the entire installation from start to finish, we recommend checking out this full video showing each stage of the artificial turf installation, including the dig-out, base prep, and final setup.
By understanding the steps and precautions of artificial turf excavation, you can avoid common pitfalls and create a landscape feature that will look great and perform well for years. Whether you’re doing it yourself or hiring a professional, knowing the essential dig-out steps for synthetic turf is the foundation for a successful project.
As always, if you have any questions or want additional help, we are here for you–just reach out! If you’re interested in getting a quote on an installation, we work with a network of professionals we can connect you with as well.


