Installing artificial grass yourself can be a cost-effective way to enhance and upgrade your outdoor space, but without proper techniques, DIY synthetic grass problems can arise. From uneven surfaces to visible seams, these common turf errors can diminish both the appearance and longevity of your turf. Fortunately, many of these issues can be corrected with the right turf repair tips. Here’s how to fix common DIY artificial turf installation mistakes and recapture a flawless finish.
The Most Common Mistakes Made During Turf Installation
Before diving into solutions, it’s essential to understand the most frequent turf installation mistakes. These include:
- Uneven surfaces leading to bumps and dips.
- Visible seams that disrupt the natural look of the turf.
- Poorly distributed infill, which affects stability and durability.
- Inadequate edging that allows turf to shift over time.
- Improper drainage, resulting in water pooling.
- Cold weather installation (below 50 degrees Fahrenheit) doesn’t allow the turf to expand fully, which can lead to wrinkles when warmer weather arrives.
By recognizing these DIY turf errors, you can take proactive steps to fix turf mistakes and improve your artificial grass repair efforts.
How to Fix Uneven Surfaces in Your Artificial Turf
Uneven surfaces are one of the most noticeable artificial turf problems and can result from an improperly prepared base. To correct this issue:
- Remove the turf and check the base material.
- Add or remove base material (such as decomposed granite or crushed rock) to create a smooth surface.
- Compact the base properly using a vibrating plate compactor.
- Reinstall the turf, ensuring it lies flat with no bumps or dips.
A properly leveled base prevents future shifting and improves the overall longevity of your turf installation.
Correcting Visible Seams: Tips and Tricks
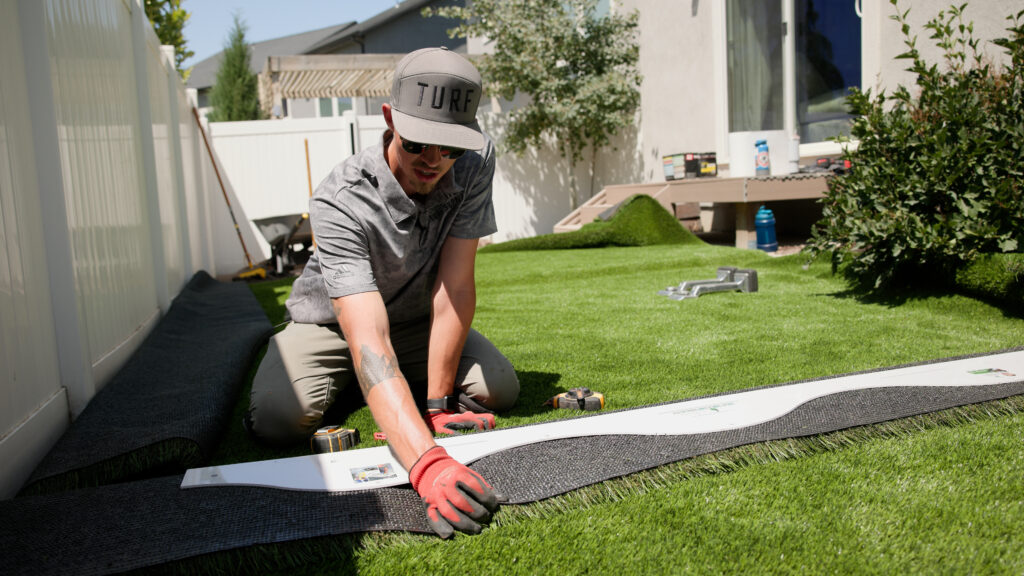
Turf seam issues can make even the highest-quality synthetic grass look unnatural. To fix visible seams:
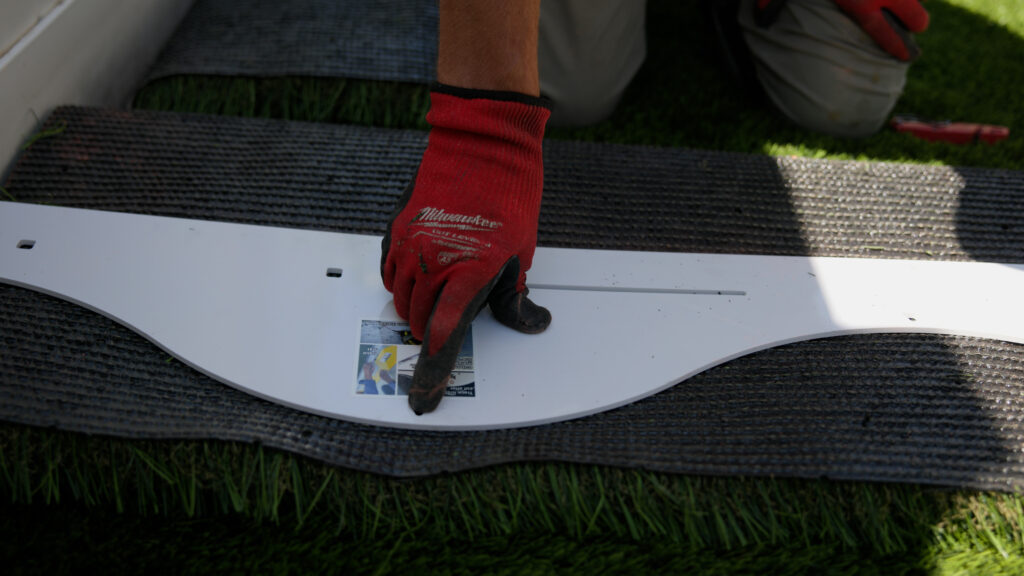
- Ensure precise cutting by using a sharp turf knife to create clean, straight edges.
Pro Tip: swap out your blade often to keep cuts clean. - Leave only 1/8th inch between each piece of turf to prevent mohawks or gaps.
- Use seam tape and adhesive to bond the seams securely.
- Brush the fibers together to blend the seam line.
- Apply infill properly to further conceal the seams.
Fixing turf seams correctly ensures a seamless, natural-looking surface that enhances your lawn’s aesthetics.
What to Do When Infill Isn’t Distributed Properly
Infill helps keep your artificial turf blades upright and provides stability, but improper distribution can lead to uneven surfaces and poor performance. To fix this issue:
- Use a drop spreader to evenly distribute infill across the turf.
- Brush the infill into the turf using a stiff-bristle broom or power brush.
- Add more infill if needed, ensuring even coverage.
- Water the turf lightly to help settle the infill into place.
Proper infill distribution enhances the durability and longevity of your artificial turf while preventing matting and uneven wear.
Preventing Issues in Future Installations
To avoid artificial turf problems in future installations, consider the following best practices:
- Invest in quality materials to reduce wear and tear.
- Prepare the base thoroughly to ensure a smooth and stable foundation.
- Use professional-grade tools and adhesives for secure turf seams.
- Follow manufacturer guidelines to avoid DIY synthetic grass problems.
- Consult with turf professionals for expert advice on installation techniques.
By taking these preventive measures, you can enjoy a low-maintenance, visually appealing artificial lawn for years to come. See tutorials and resources for DIY installations here.
Frequently Asked Questions
What causes wrinkles in artificial turf, and how can I fix them?
Wrinkles occur due to improper stretching or a shifting base. To fix them, pull the turf taut, secure it with nails or adhesive, and use a power broom to smooth out the fibers.
How do I prevent my turf from shifting over time?
Using high-quality edging and securing the turf with landscape spikes or adhesive can prevent shifting and ensure a long-lasting installation.
Can I fix an improperly sloped artificial turf installation?
Yes. If drainage issues arise due to incorrect sloping, you may need to lift sections of the turf and adjust the base material to create proper runoff.
Need Help Fixing Your Turf Installation Mistakes?
If you’re struggling with DIY turf errors or need expert guidance on artificial grass repair, Elite Turf Supply has the knowledge and high-quality materials to help. Whether you’re dealing with visible seams, infill distribution issues, or uneven surfaces, our team can provide the right solutions to fix turf mistakes efficiently. Contact us today to get the supplies and expert advice you need for a flawless artificial turf installation!

